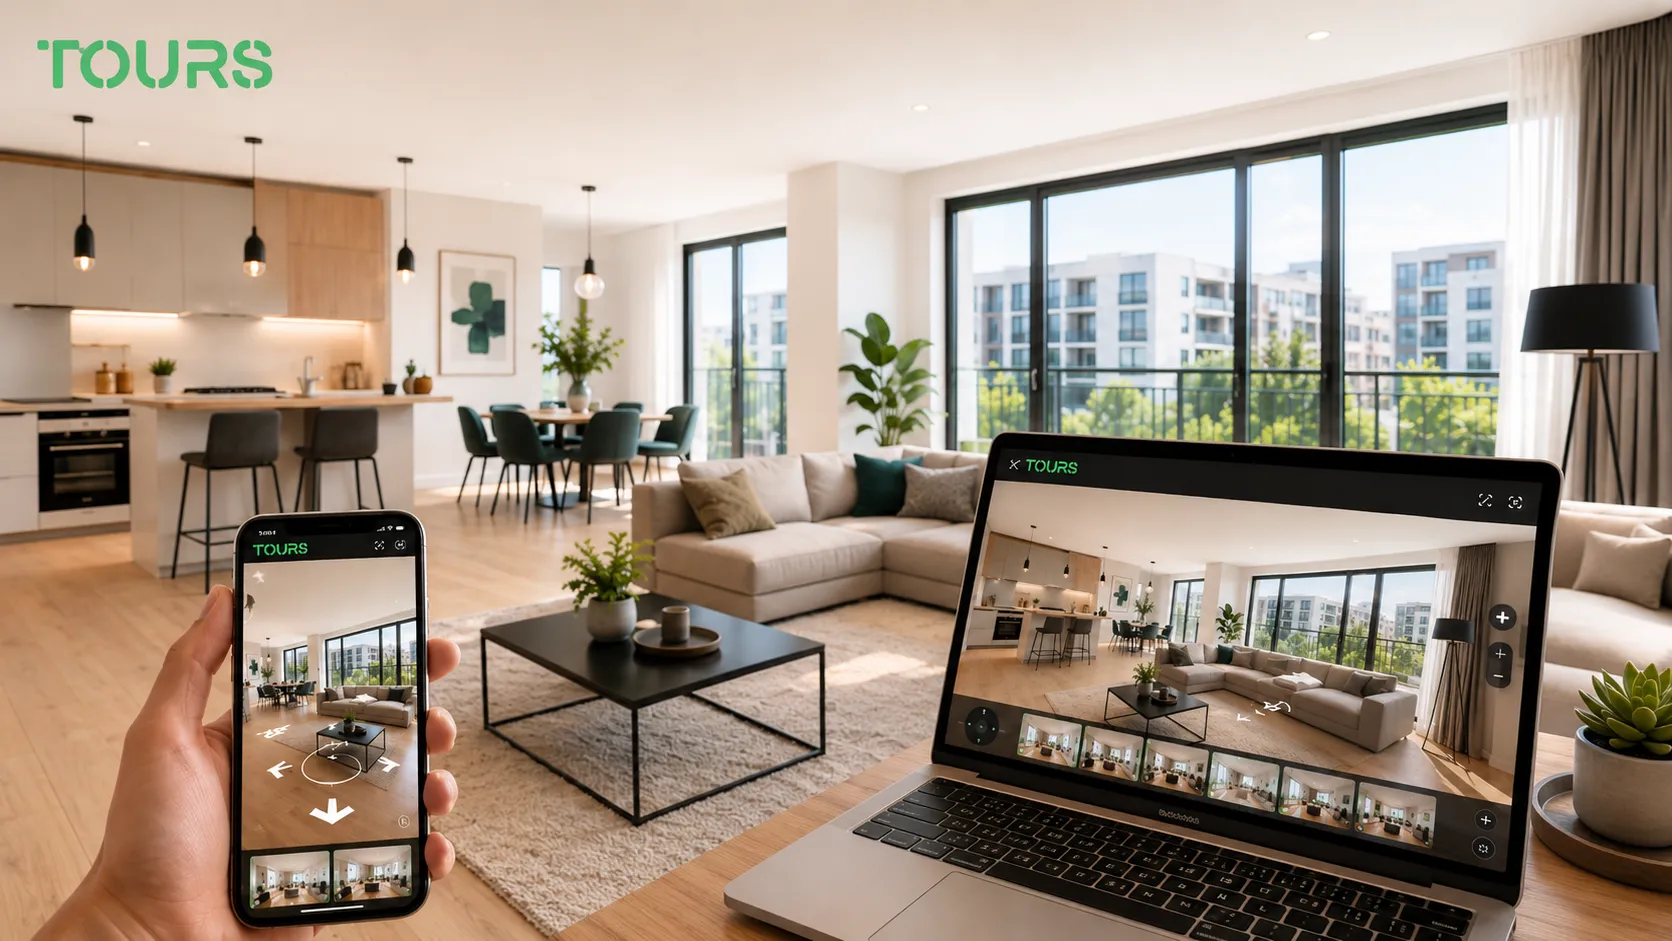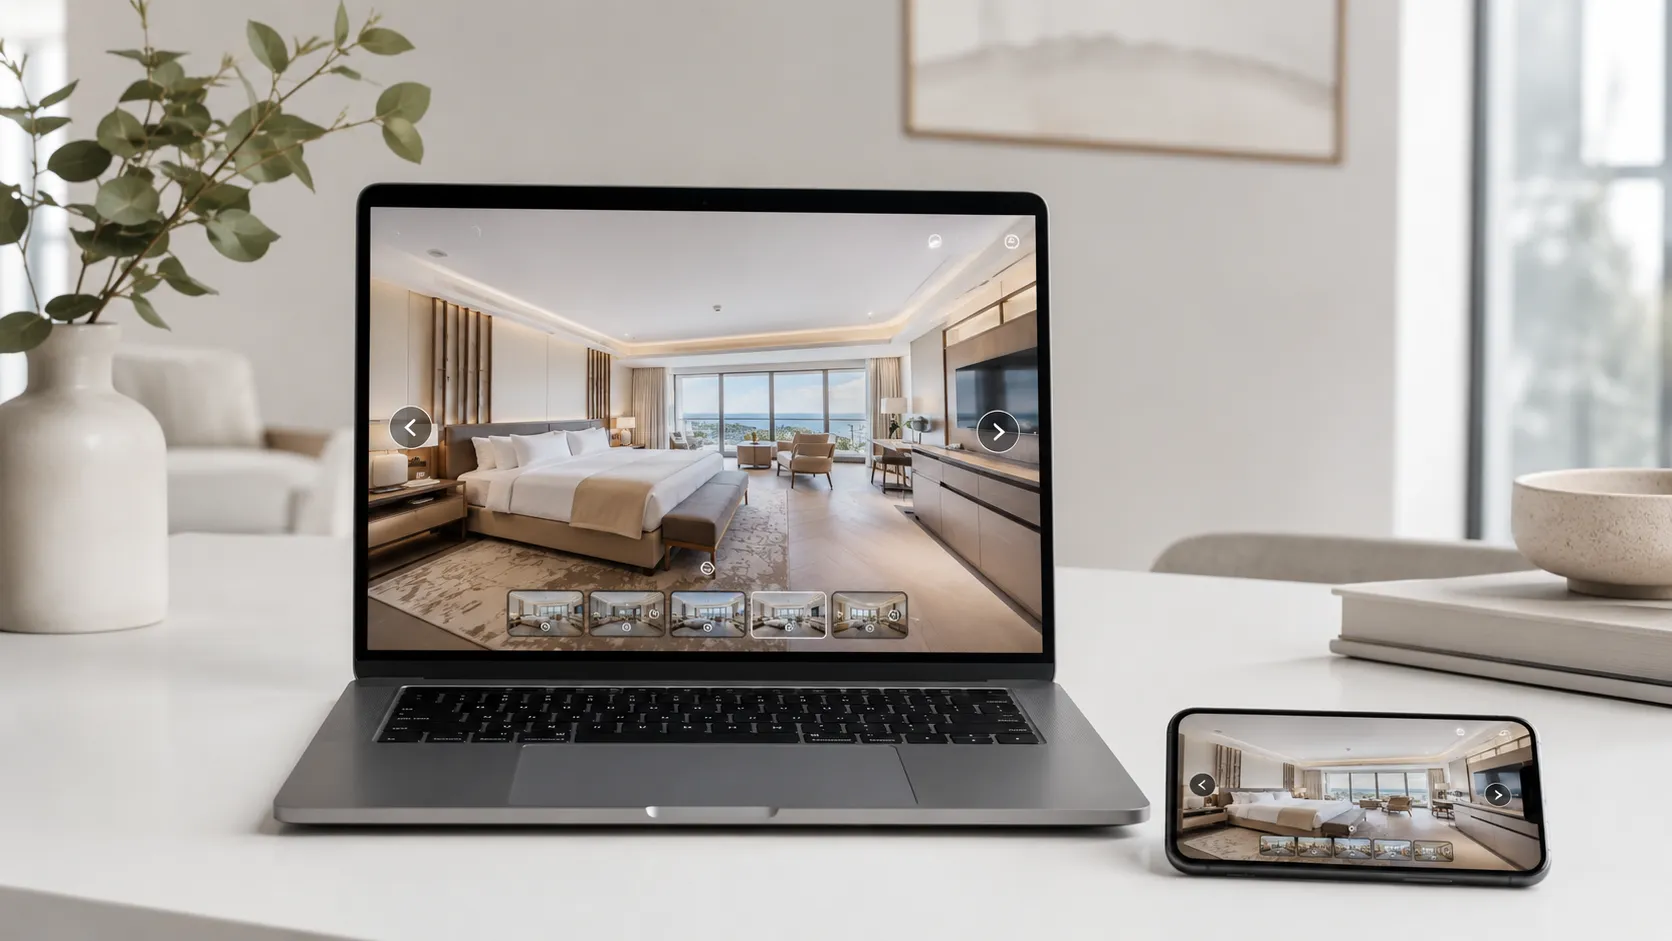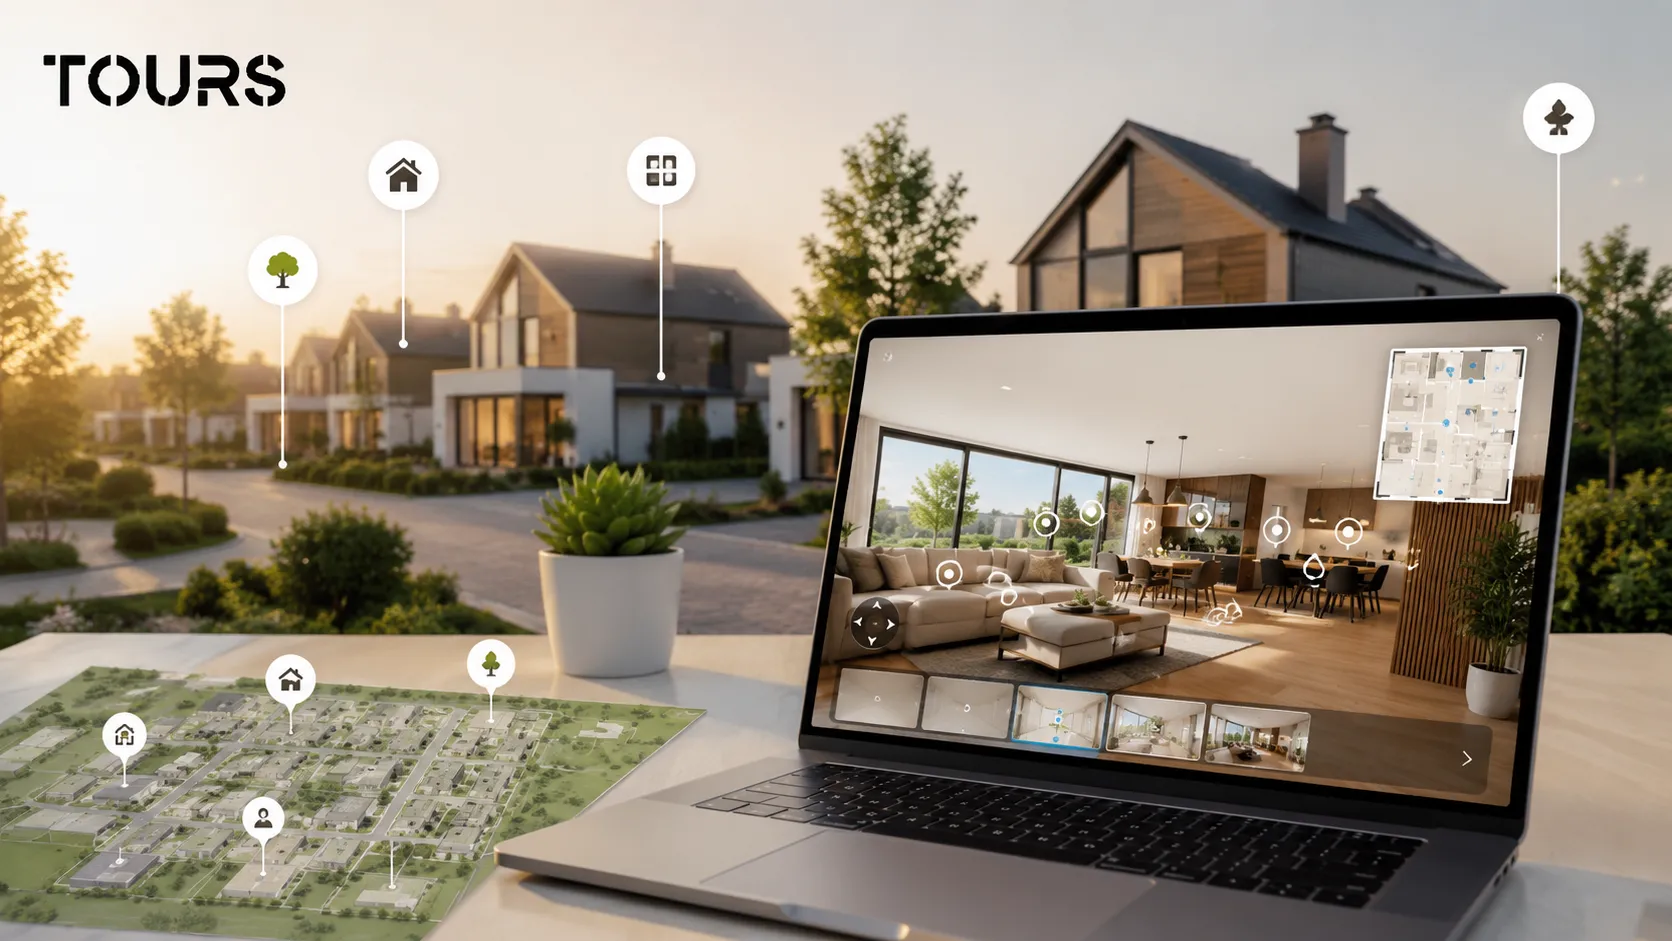

Virtual tours for houses are 360 presentations that help buyers or renters understand a home before an in-person viewing. For a house, the value does not come only from the rooms. It comes from the route, yard, access, floors, garage, storage and the details that answer important questions quickly.
Tours is a SaaS platform for interactive 360° virtual tours, available at getours.app and used directly in the browser. For a house, it helps organize scenes, interactive points, contact forms and usage statistics into a flow that is easy to publish on a website.
In short
- A virtual tour for a house should show the visitor's real route, not just isolated rooms.
- The exterior, yard, driveway access, garage, floors and technical spaces matter more for houses than for apartments.
- Interactive points should explain details that are hard to notice from the image alone: square footage, features, renovations, utilities and orientation.
- The tour helps filter viewings because interested people arrive better informed when they speak with the agent or owner.
- Tours can connect the 360 presentation with viewing requests, forms, external links, QR codes and usage statistics.
Why are virtual tours worth it for houses?
A virtual tour is worth using for a house when the property has several areas that cannot be understood correctly from a few photos. The buyer sees the relationship between rooms, yard, access, floors and annexes, while the owner or agent avoids viewings booked only out of curiosity.
US data should not be copied mechanically into every local market, but it does show where online buyer attention is moving: in Zillow's prospective buyer report, 20% of respondents chose 3D or virtual tours as the most important listing feature, after floor plans and high-resolution photos.[1]Source
For houses, that need is even clearer. A good photo can show the living room, but it does not explain whether the bedrooms are separated from the living area, whether the terrace connects naturally to the kitchen or whether access to the garage is practical. The 360 tour answers those questions through orientation, not promises.
For real estate agencies, the marketing component also matters in the relationship with sellers: Zillow reported that 75% of sellers were more likely to choose agents who offer virtual tours and interactive floor plans.[2]Source
What should a house show in a 360 tour?
A 360 tour for a house should show the spaces in the order a visitor would discover them in person: entrance, hallway, living room, kitchen, bedrooms, bathrooms, second floor, yard and auxiliary areas. The goal is to make the home easy to understand, not to turn every corner into a separate scene.
- House exterior: facade, pedestrian access, driveway access, gate, walkway and position relative to the street.
- Living area: living room, dining area, kitchen and the connection to the terrace or yard.
- Private area: bedrooms, bathrooms, walk-in closets and how they are separated from shared spaces.
- Yard: terrace, garden, pool, gazebo, play area or relaxation area, when present.
- Practical spaces: garage, mechanical room, basement, attic, laundry room, storage and annexes.
- Comfort details: natural light, orientation, heating, air conditioning, recent renovations and relevant finishes.
Not every area deserves the same level of attention. A small bathroom may need one scene, but a yard with a terrace, gazebo and garage may need several viewing points. The simple rule is to add scenes where a visitor would naturally take a few steps to understand the space.
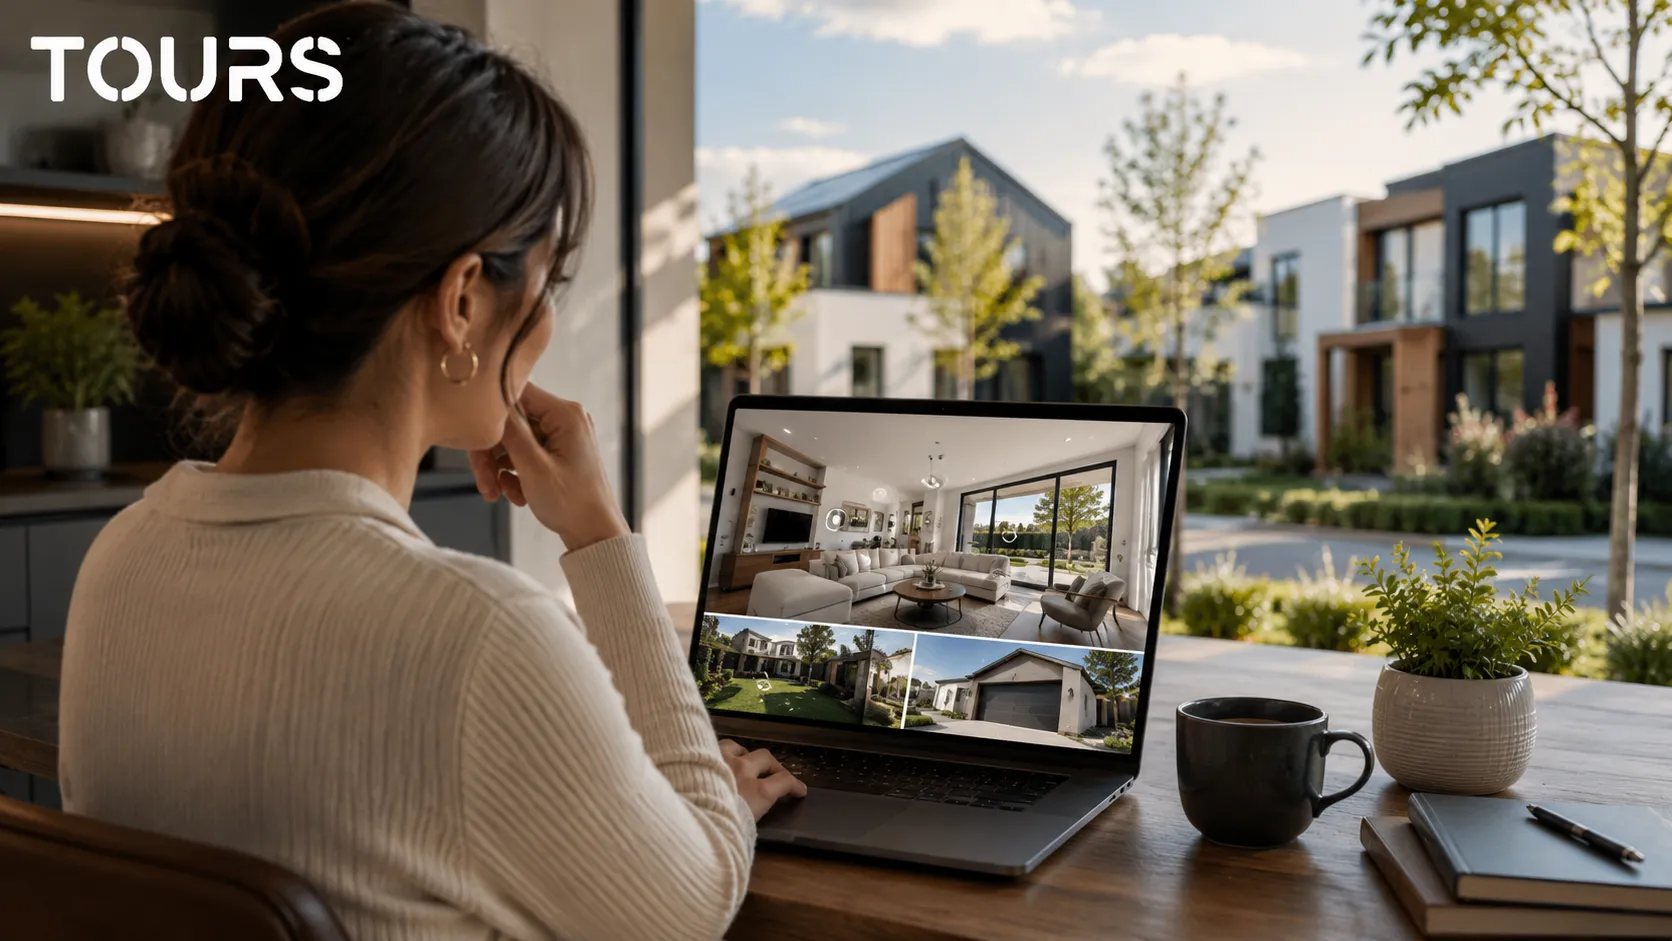
How do you structure the route for a house with a second floor, yard or annex?
The route should be structured like a guided viewing: from access to the main spaces, then to private areas, and finally to the exterior or annex. For houses with a second floor, yard or garage, the order matters because the visitor needs to understand the distances and connections between areas logically.
Start with the entry point and keep navigation predictable. From the hallway, the visitor should be able to move toward the living room, kitchen, powder room and stairs. Upstairs, the scenes should explain the bedroom layout. In the yard, the route can start from the terrace and continue toward the garden, garage or annex.
| House type | Recommended tour structure |
|---|---|
| Single-story house | Entrance, living room, kitchen, bedrooms, bathrooms, terrace, yard and technical spaces. |
| Two-story house | The ground floor and upper floor should be clearly separated, with visible navigation points near the stairs. |
| House with an attic | The attic is worth explaining through interactive points about height, light and possible use. |
| House with a garage | Include the route between the house, garage, yard and driveway access to show everyday functionality. |
| House with an annex | Show the annex separately, but connect it to the main route through an easy-to-find navigation point. |
For larger houses, you can group areas into easy-to-understand sections: ground floor, upper floor, yard, garage and auxiliary spaces. In Tours, groups can be used to organize scenes by area, while interactive points can guide the visitor without forcing them to open a long menu.
What information should you add to interactive points?
Interactive points should explain the details the 360 image cannot communicate on its own, without interrupting exploration. For a house, the most useful information covers square footage, utilities, renovations, materials, orientation, heating, efficiency, available documents and viewing or contact options.
- In the living room: square footage, orientation, heating type, windows, terrace access and the possibility of reconfiguring the space.
- In the kitchen: included features, access to the dining area, storage space and the connection to the exterior.
- In bedrooms: dimensions, position, walk-in closet, balcony and level of privacy from the living area.
- In bathrooms: ventilation, underfloor heating, recent renovations and finish types.
- In the yard: area, irrigation, lighting, driveway access, terrace, annex and landscaping potential.
- In the mechanical room: boiler, panels, filtration system, pumps, electrical panels and other important equipment.
Avoid interactive points added only as decoration. If a point does not answer a real question, it probably clutters the tour. For a virtual house presentation, the best points remove confusion and help the visitor decide whether it is worth requesting a viewing.
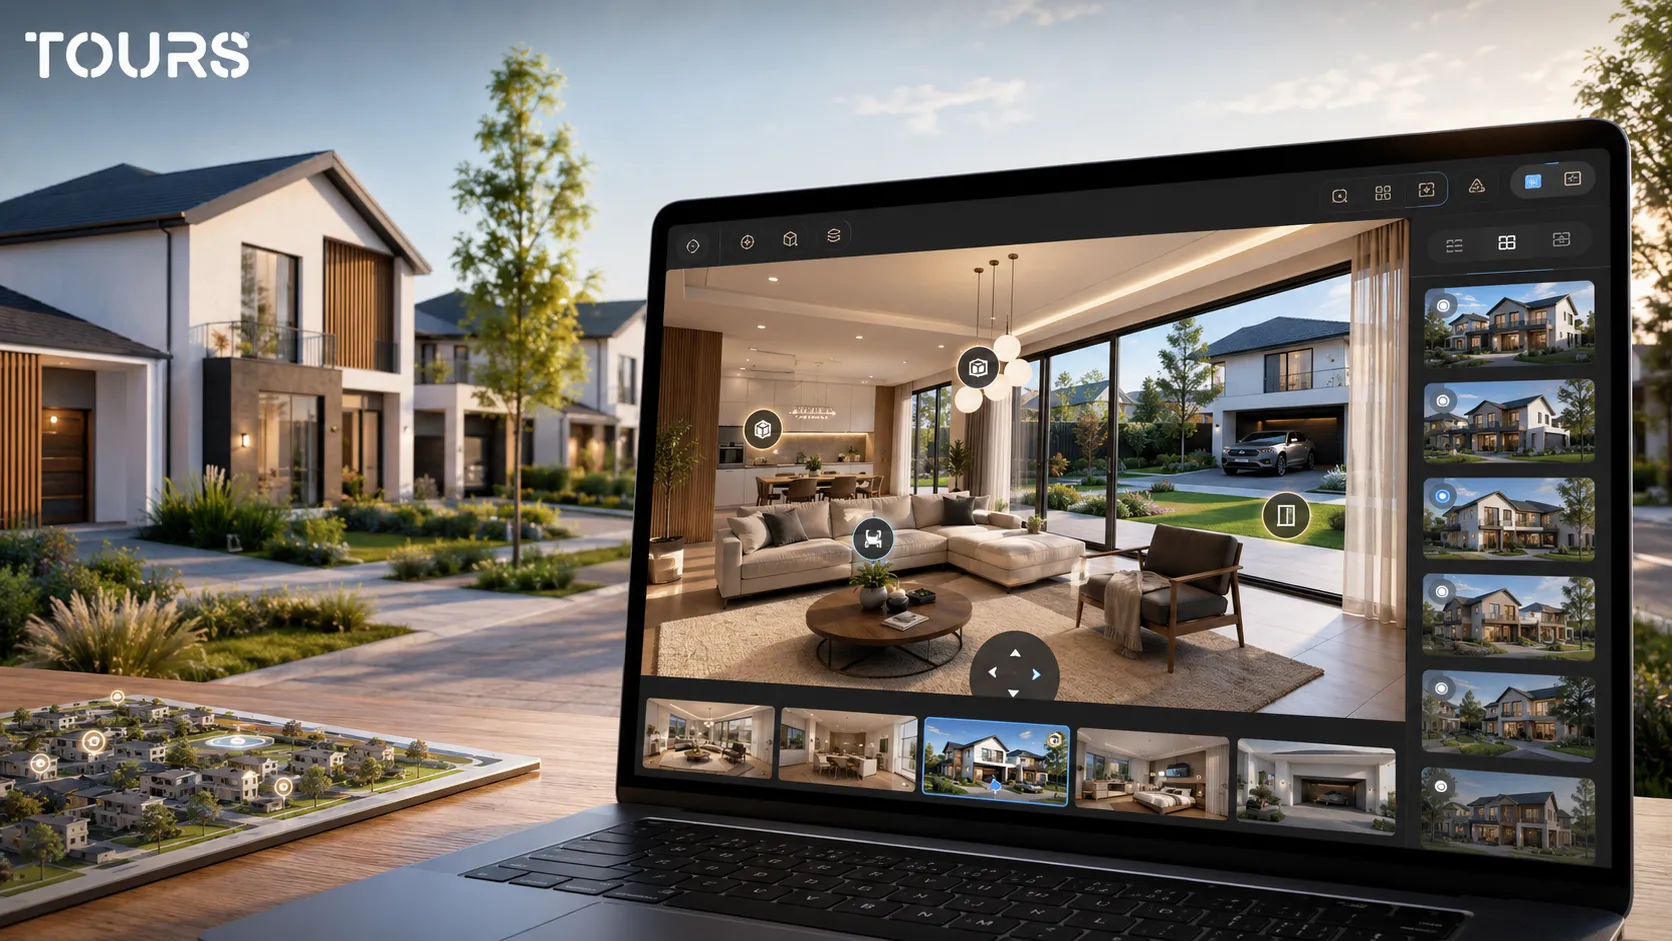
How do you help the buyer decide if a viewing is worth it?
Help the buyer with clarity, not pressure. A good virtual tour for a house should show enough for the person to decide whether the home fits their needs, while keeping the in-person viewing for verification, emotion and the final decision.
Market context matters, especially when buyers compare many properties before taking the next step: the National Association of REALTORS says its annual profile for buyers and sellers covers transactions completed between July 2024 and June 2025, during a period with limited inventory and reduced affordability.[3]Source
In that context, the presentation should reduce uncertainty. Show the real route through the house, explain limitations, mention what is not clearly visible and offer a simple next step for questions. A person who requests a viewing after going through the tour usually has more specific questions.
- Add a contact point in a relevant scene, not only at the end of the tour.
- Connect the viewing request to important areas, such as the living room, yard or primary bedroom.
- Use short text because the visitor needs to stay oriented in the space.
- Do not hide difficult areas. It is better to explain them correctly than to create the wrong expectations.
- Track which scenes are visited most and adjust the information based on behavior.
Virtual tour, video, photos or floor plan: what should you use for a house?
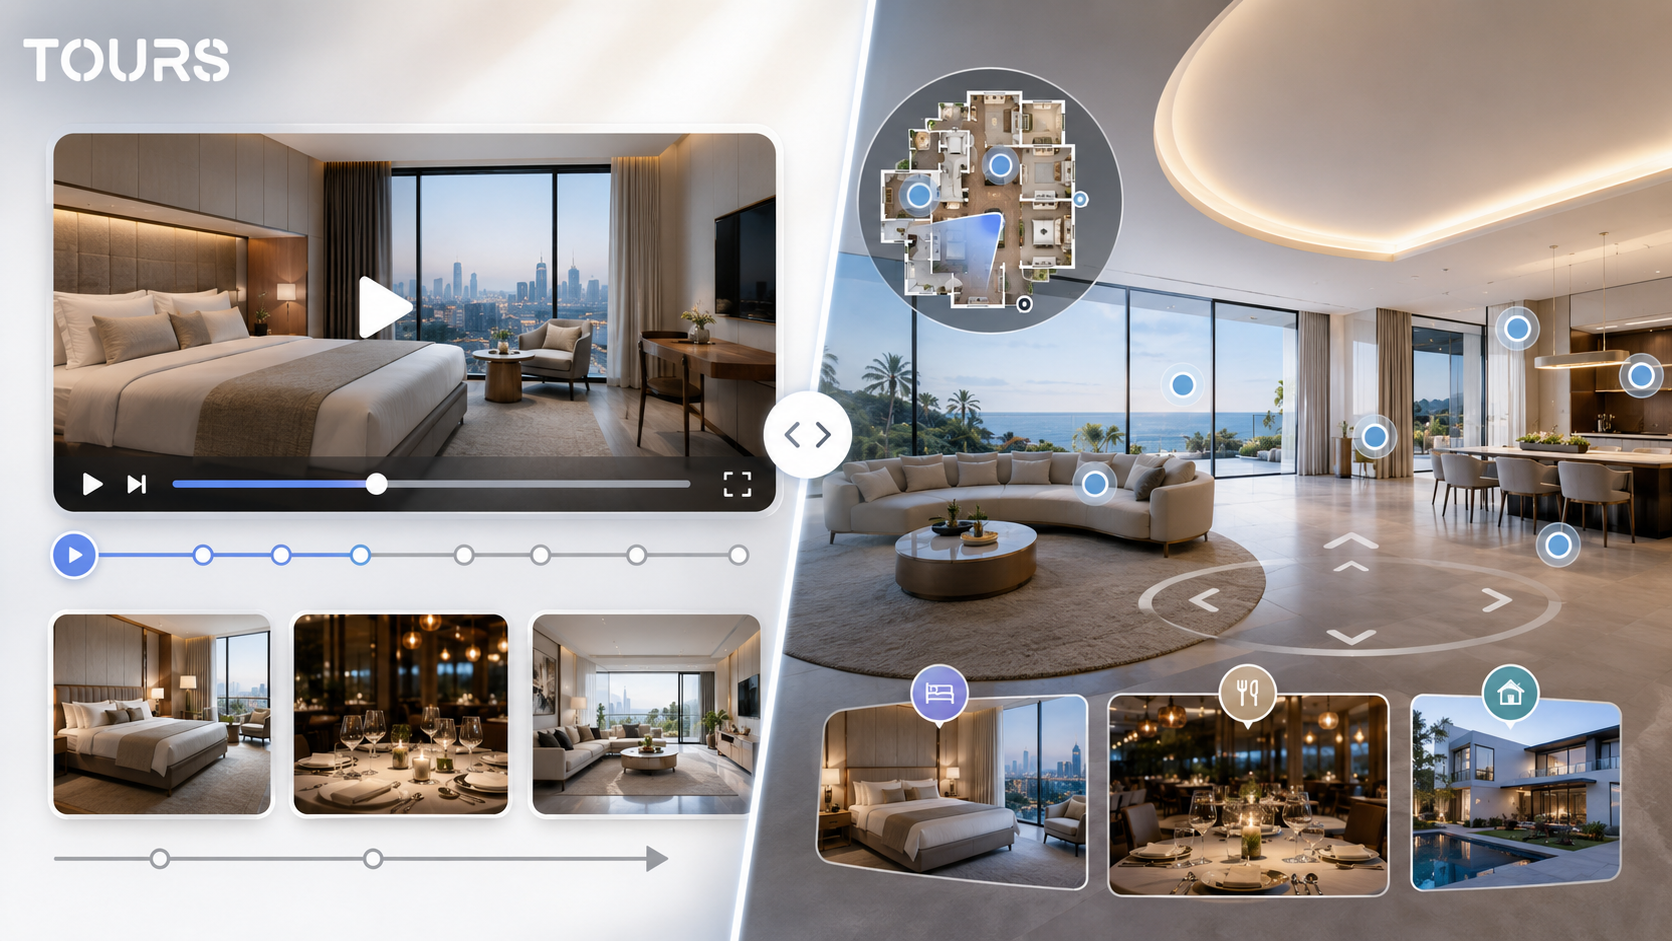
For a house, you do not need to choose a single format. Photos attract attention, the floor plan explains layout, video conveys pace, and the virtual tour allows free exploration. The best presentation combines formats, but uses the 360 tour for questions about orientation and space.
| Format | Role in a house presentation |
|---|---|
| Photos | Show the best angles and can create quick interest in a listing or on social media. |
| Video | Presents the atmosphere and pace of the viewing, but fully controls the visitor's route. |
| Floor plan | Explains areas and layout, but does not show real proportions the way a visitor feels them. |
| 360 tour | Allows free exploration and helps the buyer understand the relationship between rooms, yard and access. |
| 3D scan | Can be useful for measurements and a spatial model, but is not required for every commercial presentation. |
For the broader production workflow, the article on how to create a 360° virtual tour explains the complete process. For this page, the important idea is more specific: for houses, the tour needs to connect the interior with the exterior and answer the questions that appear before a viewing.
How do you use Tours for a virtual house presentation?
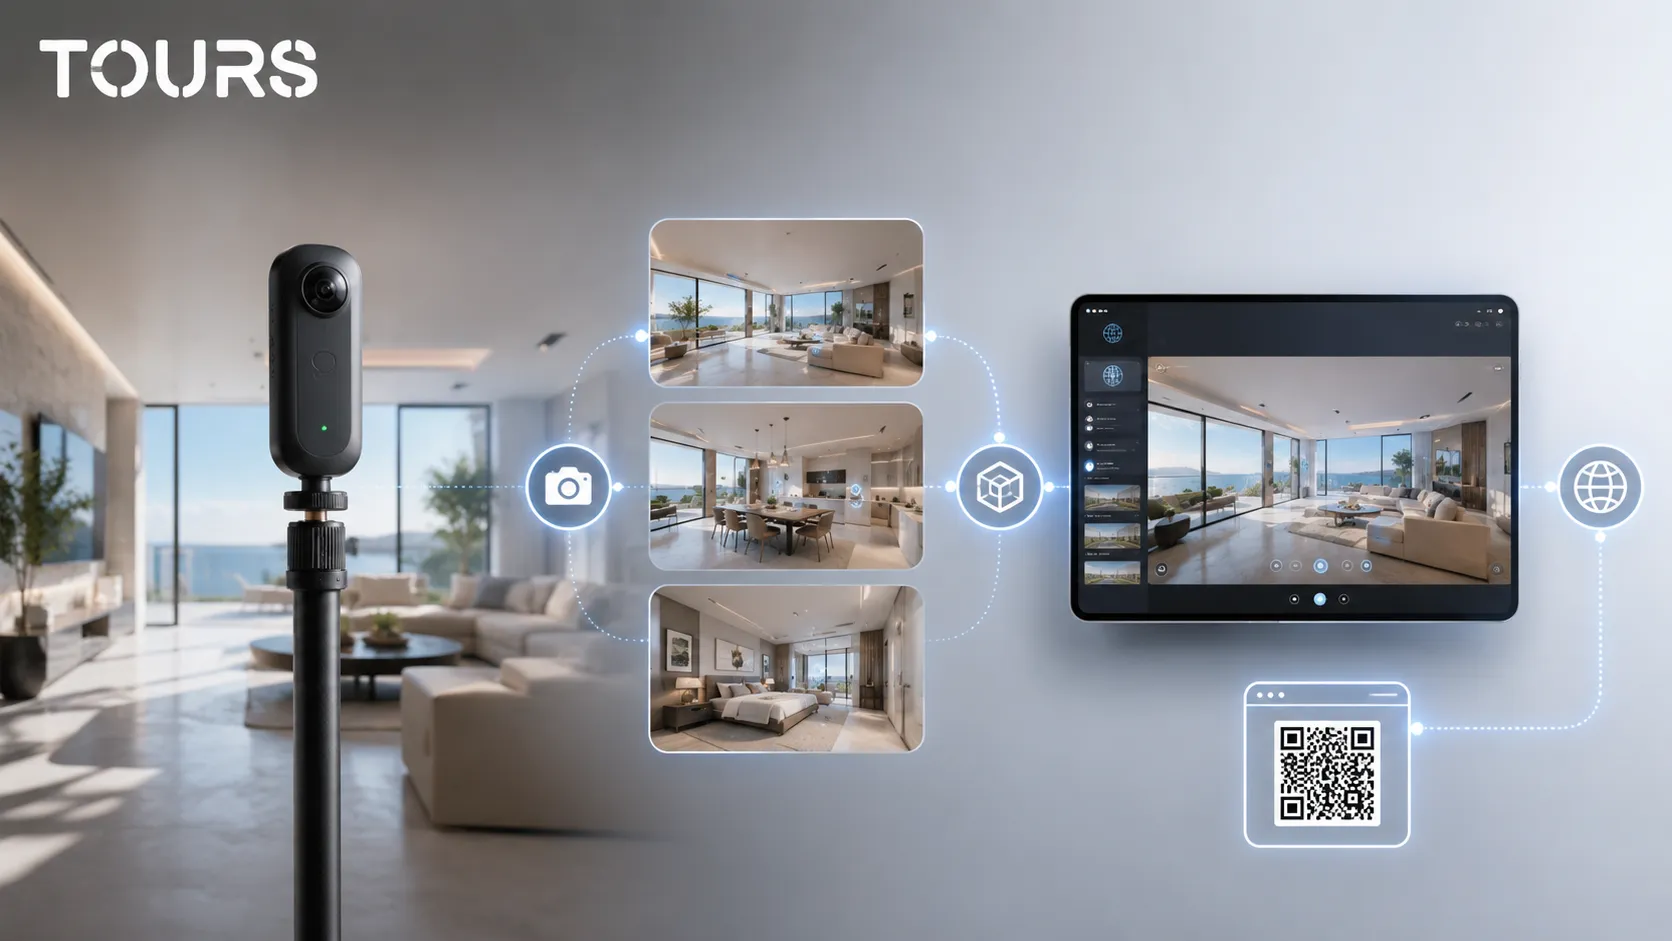
In Tours, you can build a house presentation directly in the browser: create the tour, upload the 360 scenes, add interactive points, organize the areas and publish the presentation after review. The flow is useful when you want to work quickly while keeping control over the route, information and viewing requests.
The practical flow is simple. You create an account on getours.app, enter the Tours app, open the 'My Tours' page and choose to create a new tour. In the setup window, you complete the tour name and category, then you can add location, price and tags. After uploading the first 360 scene and giving it a clear name, the 360° editor opens.
In the editor, you can add additional scenes, navigation points, information points, external links, groups, text, images and video. If you want certain areas to lead later to a viewing request or booking window, you can mark those points with internal tags.
Bookings or requests do not need to be connected to only one point. In Tours, Booking Manager can be connected to the entire tour, specific scenes, scene groups or tagged interactive points. If it is connected to the whole tour, a global button can appear. If it is connected to a point, the window opens when the visitor taps or clicks that point.
For a house, that logic can mean a viewing request from the living room, a question about the yard, a form in the entry area or an external link to the listing page. Points with the same tag can use the same calendar, while different points can have separate calendars when the commercial flow requires it.
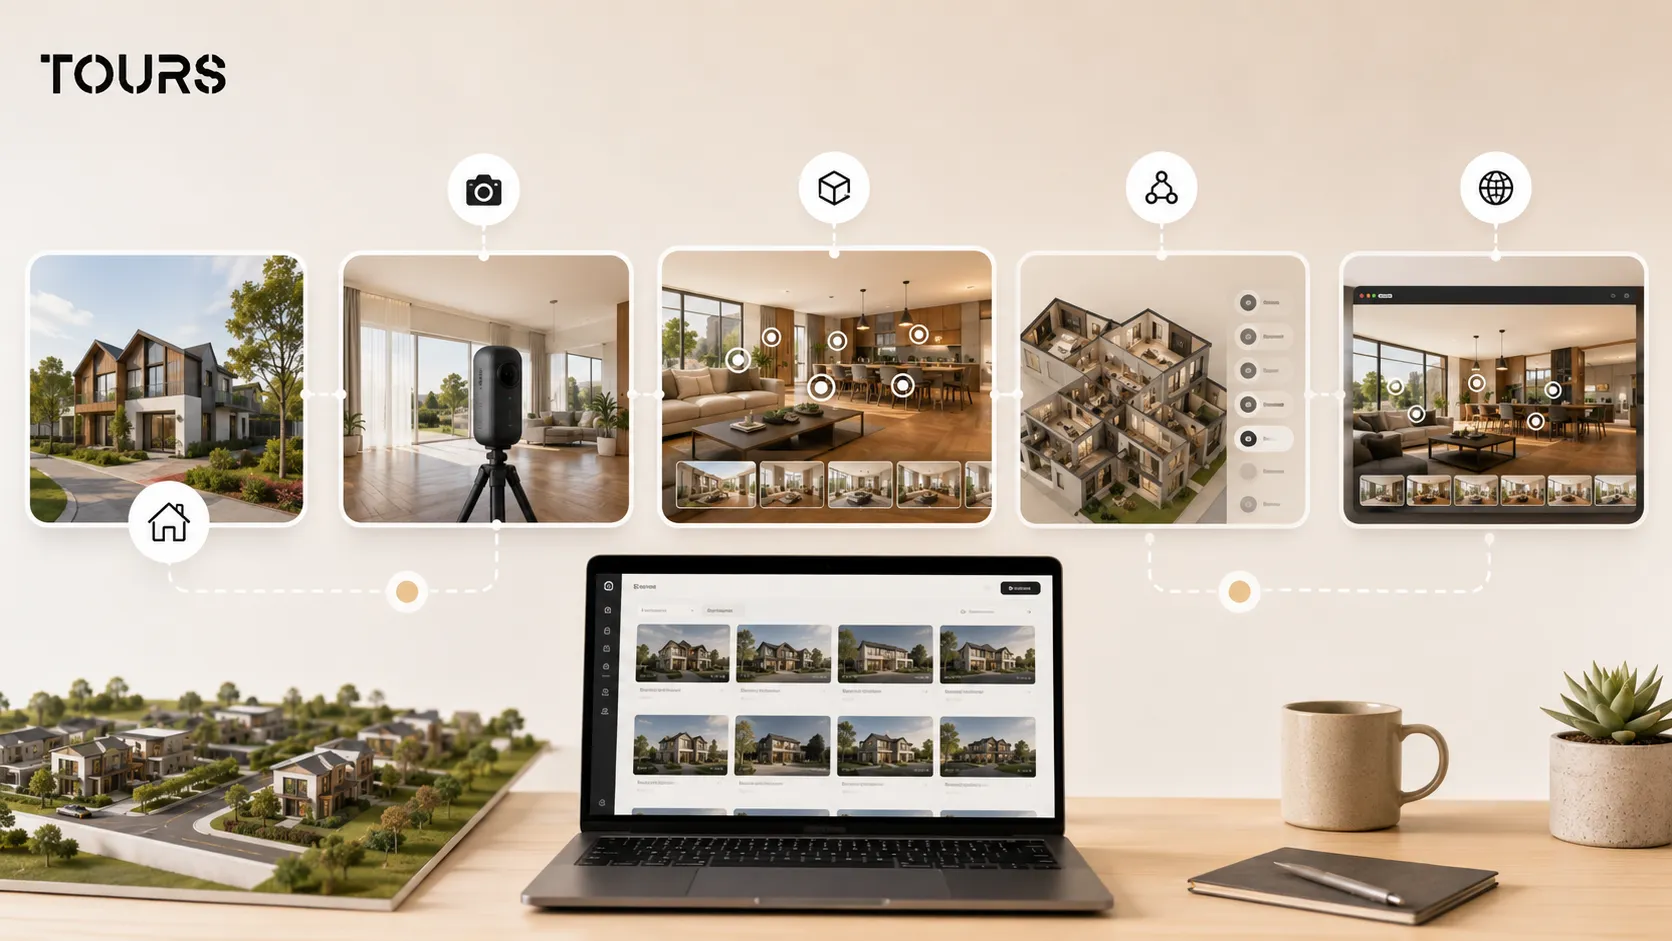
How do you publish the tour and track interest?
Publishing should happen only after the route, interactive points and contact information have been checked on desktop and mobile before launch. In Tours, after you click 'Publish' and choose visibility, the tour waits for approval from a Tours moderator before it becomes publicly active.
After approval, the tour can be shared by link, QR code or website integration code. For a house listed for sale, the most useful places are the property page, the agency website, messages sent to qualified clients and printed materials used on site.
Usage statistics matter because they show which areas attract attention. If the terrace scene is visited often but few people submit a request, you may need clearer information. If visitors stop in the technical area, the utilities, costs or renovations probably need better explanation.
You can test Tours for 30 days without a card. If you only want a 360 presentation with website integration and usage statistics, you can start simply. If you want to connect viewing requests or bookings, the Pro plan includes the booking system from €59/month, while plans start at €19/month.
Frequently Asked Questions
What are virtual tours for houses?
Virtual tours for houses are 360 presentations that let visitors explore the home online, room by room. They show the relationship between the interior, exterior, yard, floors and practical spaces. Unlike photos, the tour lets the buyer choose the route and understand the real layout better.
When is a virtual tour worth creating for a house?
It is especially worth it when the house has a second floor, yard, garage, annex, technical spaces or a layout that is hard to explain with photos. The tour is also useful for premium properties, homes in another city, busy clients or buyers who want to filter homes before an in-person viewing.
Does a virtual tour for a house replace an in-person viewing?
No. The virtual tour should not be treated as a full replacement for an in-person viewing. It helps the buyer decide whether it is worth coming on site. The viewing still matters for the real feel of the space, technical checks, neighborhood, noise, smells and the final conversation with the owner or agent.
Which rooms should be included in a virtual tour for a house?
Include the entrance, hallway, living room, kitchen, bedrooms, bathrooms, terrace, yard and important auxiliary spaces. For two-story houses, show the stairs and bedroom layout clearly. For houses with a garage, annex, basement or mechanical room, include those areas if they influence the buying decision.
What information should go into interactive points?
Interactive points should explain things that are not clearly visible in the image: square footage, features, finishes, heating type, renovations, utilities, orientation, driveway access, insulation or available documents. In commercial areas of the tour, they can also lead to a viewing request, contact form or listing page.
Is a virtual tour better than video for a house?
Not necessarily. It has a different role. Video tells the story through a controlled route, while the virtual tour allows free exploration. For houses, the 360 tour is more useful when the buyer wants to check the connection between rooms, yard, floors and garage. Ideally, the two formats can complement each other.
Can I connect a virtual tour for a house to viewing requests?
Yes. In Tours, requests or bookings can be connected to the entire tour, specific scenes, scene groups or interactive points marked with tags. For a house, you can place the viewing request in a relevant point, such as the living room, yard or entry area.
Do I need a professional camera for a 360 tour of a house?
A dedicated 360 camera helps a lot, especially for clarity, exposure and work speed. You do not always need a complex setup, but you do need stable, well-lit images captured from logical positions. For premium properties, professional photography can change how the tour is perceived.
How do I avoid cluttering a house tour?
Keep scenes only in the points where the visitor needs to orient themselves or understand a new area. Do not add interactive points for every decorative detail. Use short text, clear groups and natural routes. A good tour feels like a guided viewing, not an overloaded catalog.
Can I add the house virtual tour to my website?
Yes. After publishing and approval, the tour can be shown on the website through website integration code, shared by link or used with a QR code. For real estate agencies, the most useful location is the property page, next to photos, floor plan, description, price and contact form.
If you want to present a house more clearly before a viewing, start with the home's real route: entrance, main spaces, upper floor, yard and practical areas. In Tours, you can build the 360 tour in the browser, add it to your website with website integration code and test it for 30 days without a card.
Sources
Studies and reports cited in this article
All sources are checked and publicly available.
- Zillow report on prospective buyers in 2025studyZillow ResearchReport on prospective buyer behavior, including the importance of floor plans, high-resolution photos and 3D or virtual tours in real estate listings.
- Zillow report on choosing real estate agentsreportZillowAnnouncement and summary of how online research and marketing materials, including virtual tours and interactive floor plans, influence the relationship between sellers and agents.
- Profile of home buyers and sellersreportNational Association of REALTORSAnnual report on home buyer and seller behavior, used as market context for residential real estate and buying decisions.
We carefully select trusted sources to keep the content relevant and up to date.