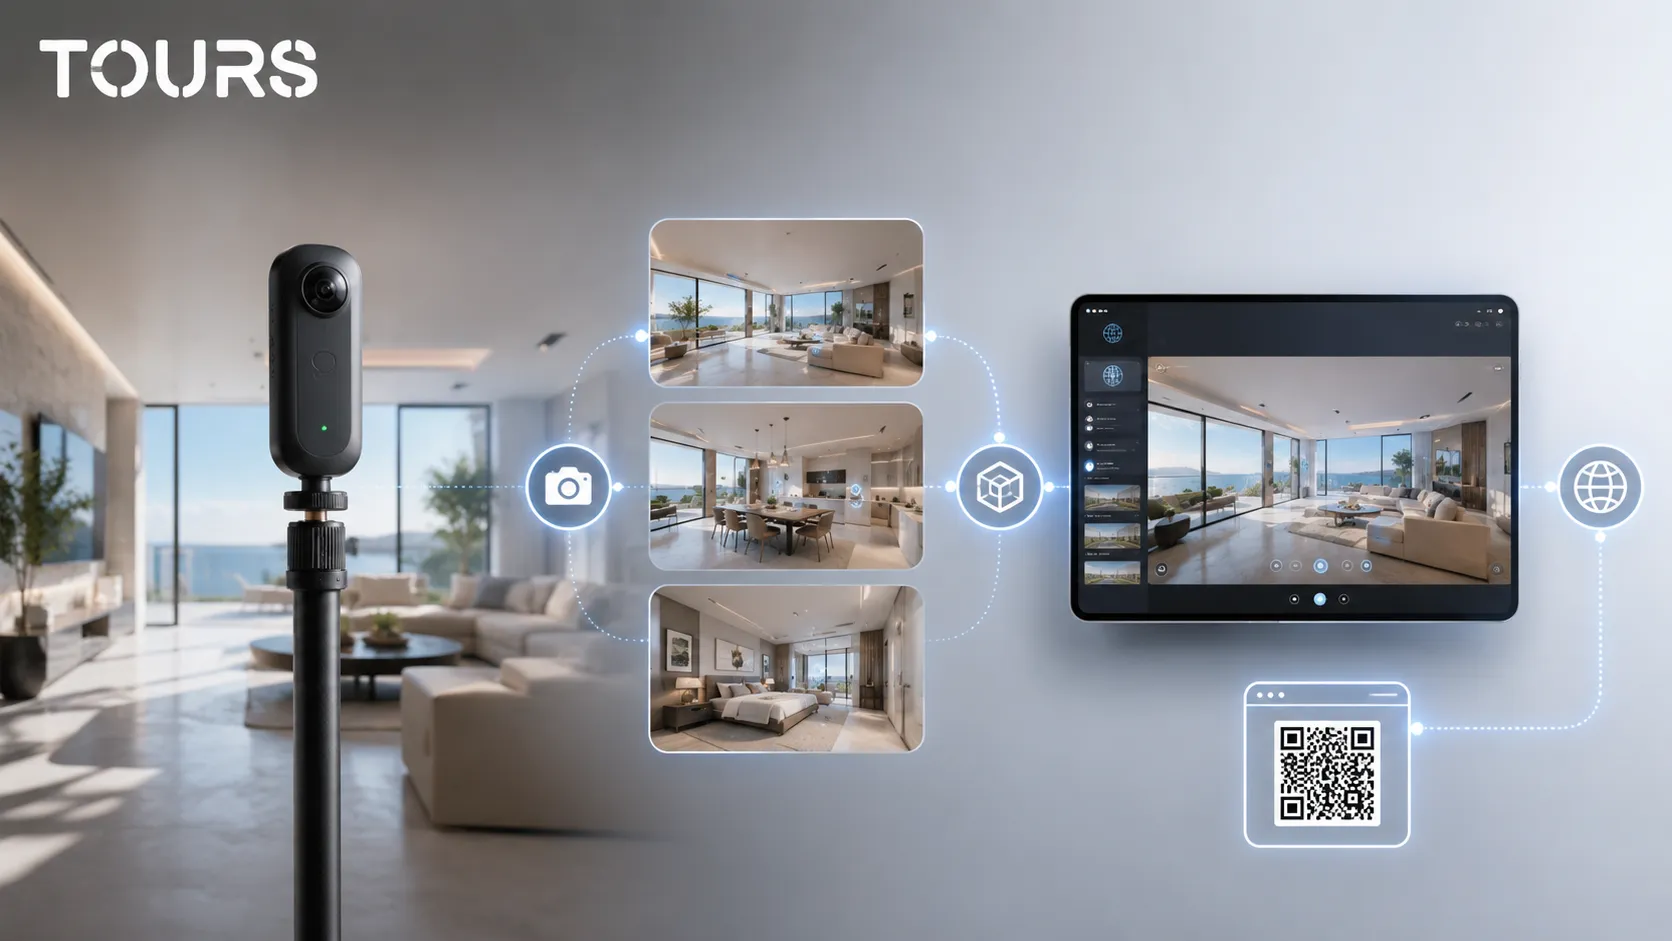

To create a strong 360° virtual tour, start with a clear list of spaces, photograph every important point with a 360° camera, upload the scenes to a platform, connect them with navigation and add only the interactive points that help visitors understand the space or send an inquiry.
Tours is a SaaS platform for interactive 360° virtual tours with website publishing, interactive points, usage statistics and optional bookings. For a creation guide, what matters most is that you can build the tour in the browser, then use it on getours.app, through a QR code or directly on your own website.
In short
- A good tour is decided before the shoot: route, rooms, points of interest and the final action.
- Photograph from natural positions, at a consistent height, with a clean space and lighting that is as even as possible.
- Inside the platform, scenes should be named clearly and connected into a path that is easy to follow.
- Interactive points should answer real questions, not turn the tour into a crowded control panel.
- Publishing, website integration, the QR code and usage data should be checked before you send the tour to customers.
How do you create a 360° virtual tour in clear steps?
Create a 360° virtual tour like a guided visit: choose the important spaces, decide their order, photograph the panoramas, upload them to a platform, connect the scenes and test the experience on phone and desktop. Only after that foundation should you add information, buttons, inquiries or bookings.
- Set the goal: presentation, sale, booking, viewing or customer support.
- Write the scene list before filming or photographing.
- Photograph each space from a point that helps orientation.
- Connect scenes in a logical order, like a real walk through the space.
- Add information only where it answers a specific question.
- Test the tour before publishing, then add it to your website or share it through a QR code.
For real estate, visual presentation matters a lot in online filtering: the 2025 NAR report shows that 38% of buyers who used the internet found virtual tours very useful, while 81% found photos very useful.[1]Source
What should you plan before photographing the space?
Before you photograph, decide what visitors should understand after the tour. For an apartment, that may be the layout. For a hotel, it may be the rooms and facilities. For a restaurant, it may be the atmosphere, dining room, terrace and table placement.
The minimum plan should include a simple map of the space, the list of scenes, the viewing order and the questions the tour must clarify. For example, a showroom needs product areas and explanations, while a guesthouse needs rooms, bathrooms, exterior areas and shared spaces.
- Mark the main entrance and the natural starting point.
- Choose the required spaces and the optional spaces.
- Decide which areas should not be shown, such as storage rooms or technical spaces.
- Write down which details are worth adding to the tour: price, capacity, facilities, hours, rules or an external link.
- Define the final action you want: quote request, viewing request, booking, call or website visit.
What equipment do you need for 360° capture?
For a simple tour, you need a 360° camera, a stable monopod or tripod, charged batteries, enough storage and time for each position. For commercial results, capture consistency matters more than a large number of images.
| Option | When it makes sense | Main limitation |
|---|---|---|
| Phone | Quick test or internal tour with modest quality expectations | Slower process and a result that is harder to make consistent |
| Dedicated 360° camera | Tours for websites, sales, bookings and commercial presentations | Requires some discipline with lighting and positioning |
| Specialized photographer | Premium spaces or projects where the image needs to be flawless | Higher cost and scheduling around availability |
| 3D scan | Measurements, spatial model or advanced technical presentation | Can be more expensive than a simple interactive 360 tour |
In practice, dedicated 360° cameras reduce assembly work significantly: RICOH360 explains that phones and digital cameras can be used, but 360° cameras are designed to capture the full image of a space and create a more realistic experience.[2]Source
The 360° camera market is mature enough for several budgets: Digital Camera World lists current models with 8K video, 60.5 MP or 72 MP photos and options built specifically for static panoramas used in tours.[3]Source
How do you photograph the space so you do not fix everything later?
Photograph each scene from a point where a visitor would naturally stop. Keep the camera at a consistent height, avoid people in the frame, turn on the important lights and do not move objects between shots if that could create confusion.
- Clean the space before capture, not after.
- Shoot when the light is stable, especially in rooms with large windows.
- Place the camera in the center of the area, not right against a wall.
- Avoid mirrors, windows and glossy surfaces when they reflect the camera too clearly.
- Take a backup shot for important spaces.
- Check each panorama immediately on a phone or laptop.
Do not try to hide every imperfection. A 360 tour works well when it is clear and credible. If the space has limitations, it is better to explain them through an information point than to create a presentation that promises more than the real space can deliver.
How do you organize scenes into an easy-to-follow path?
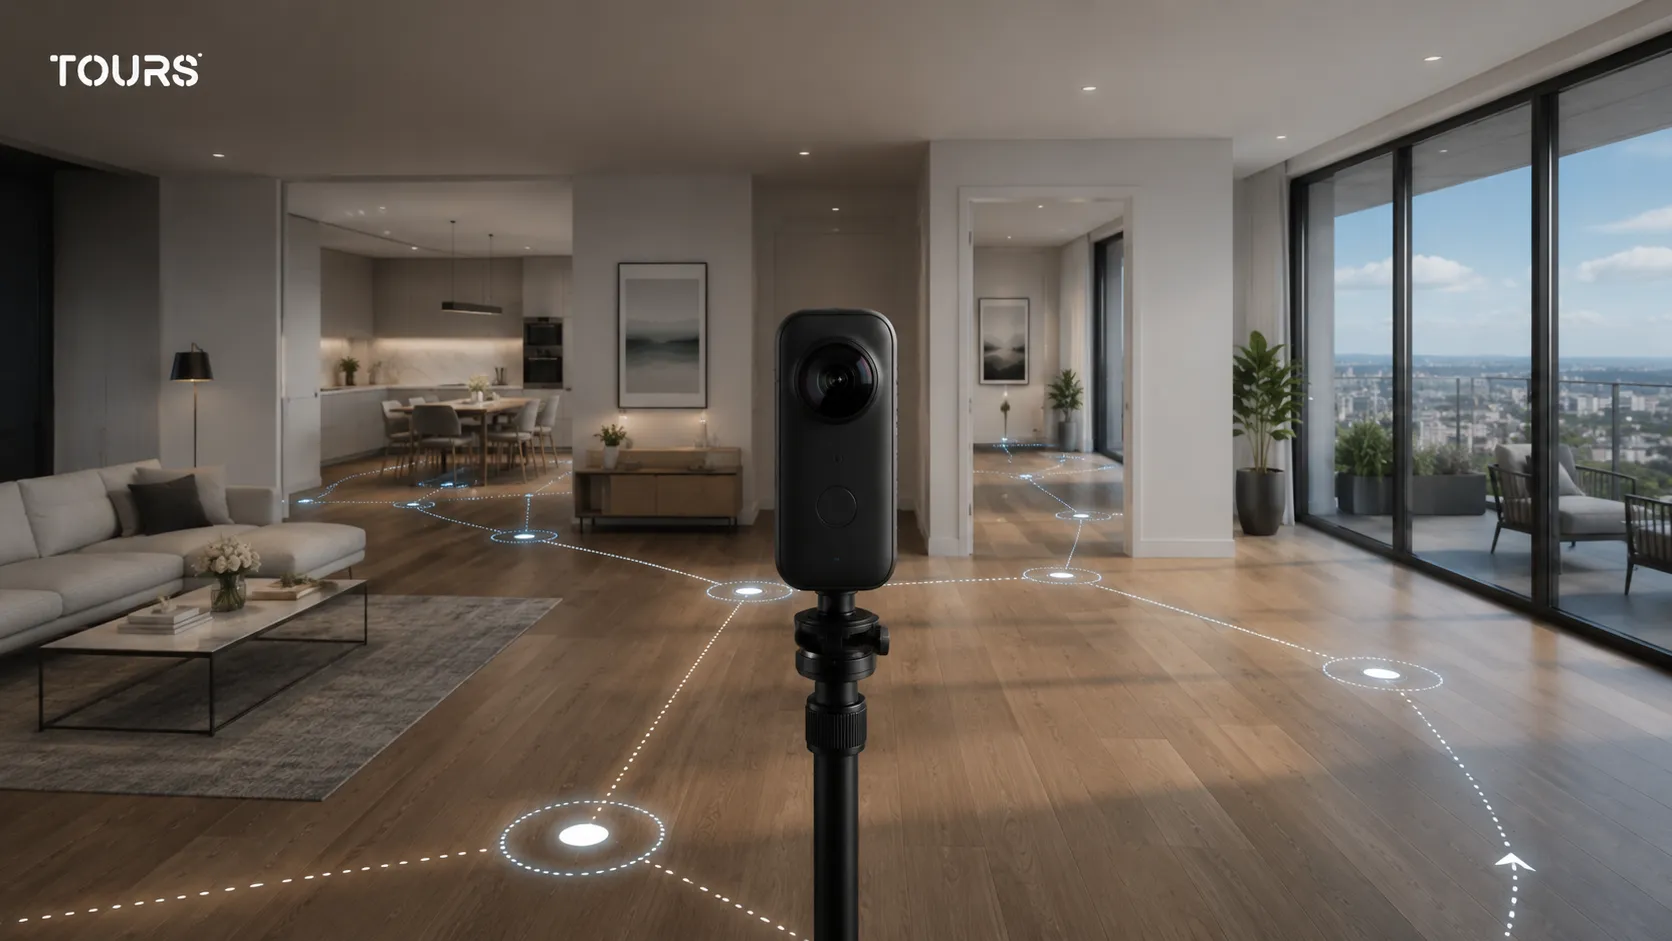
Organize scenes in the order a visitor would move through the space in real life. A tour should not only show rooms. It should explain the relationship between them: entrance, hallway, main spaces, secondary areas, exterior and points of interest.
Names help more than they seem. Use simple names such as Reception, Double Room, Terrace, Living Room or Ground-Floor Showroom. If you have many scenes, group rooms or areas so visitors do not feel as if they are jumping randomly from one place to another.
- Start with the scene that gives the best context.
- Connect nearby scenes through visible navigation points.
- Do not create too many jumps to distant spaces.
- Use groups for rooms, apartments, floors or themed areas.
- Keep the same style for names and icons.
How do you create the tour in Tours without overcomplicating it?
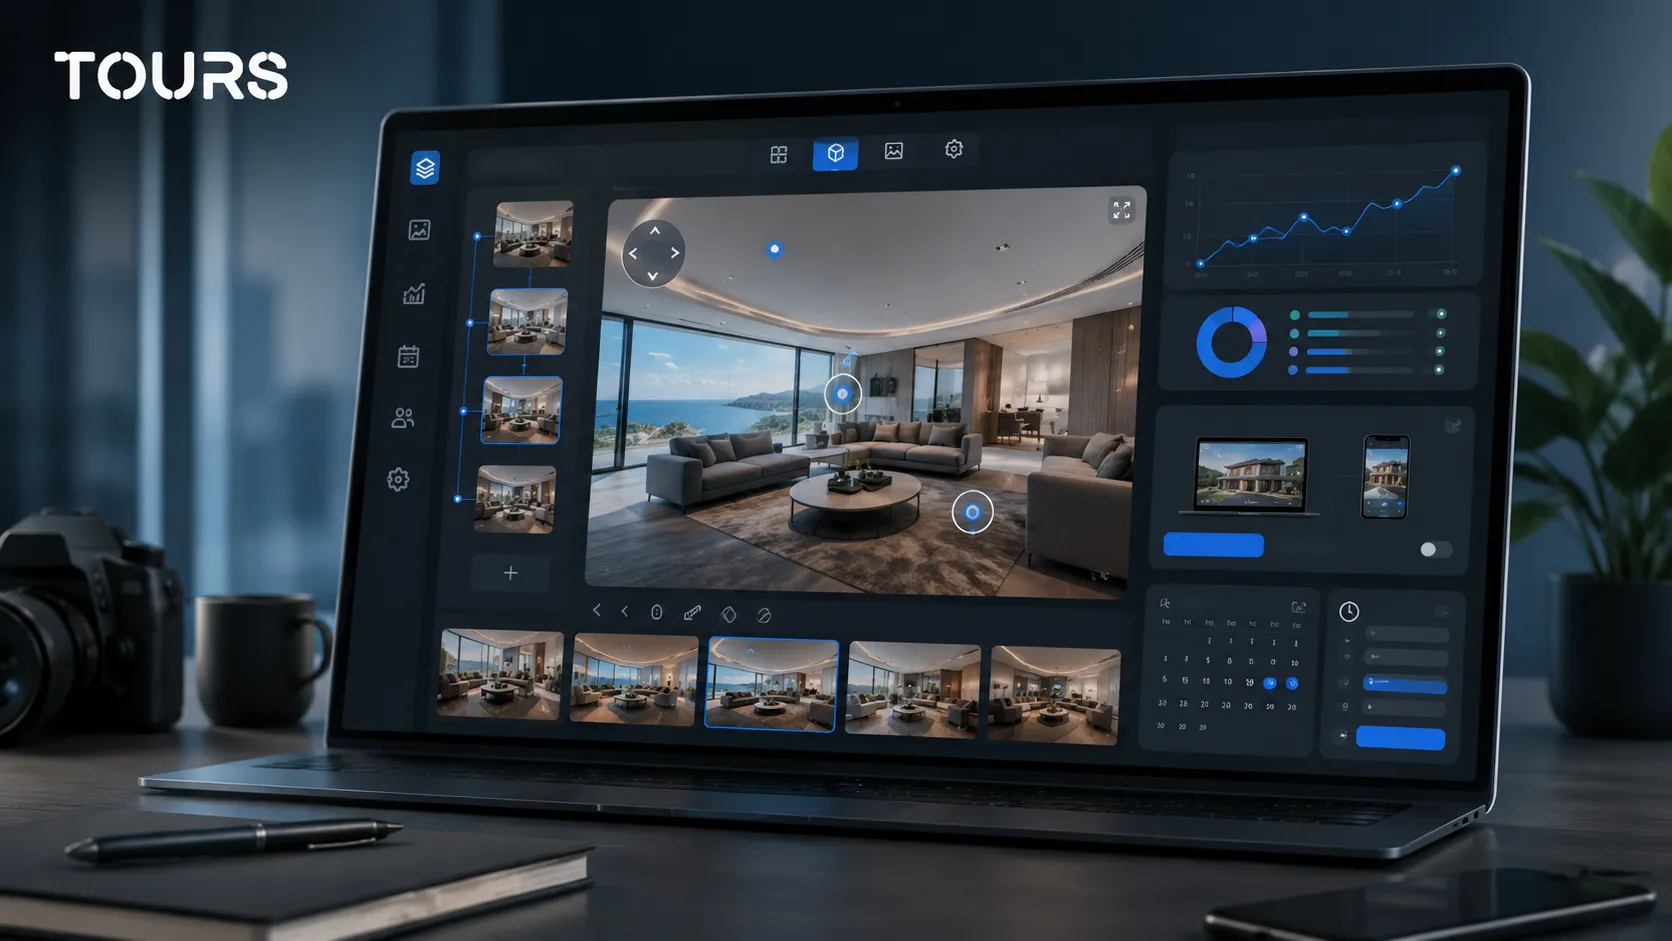
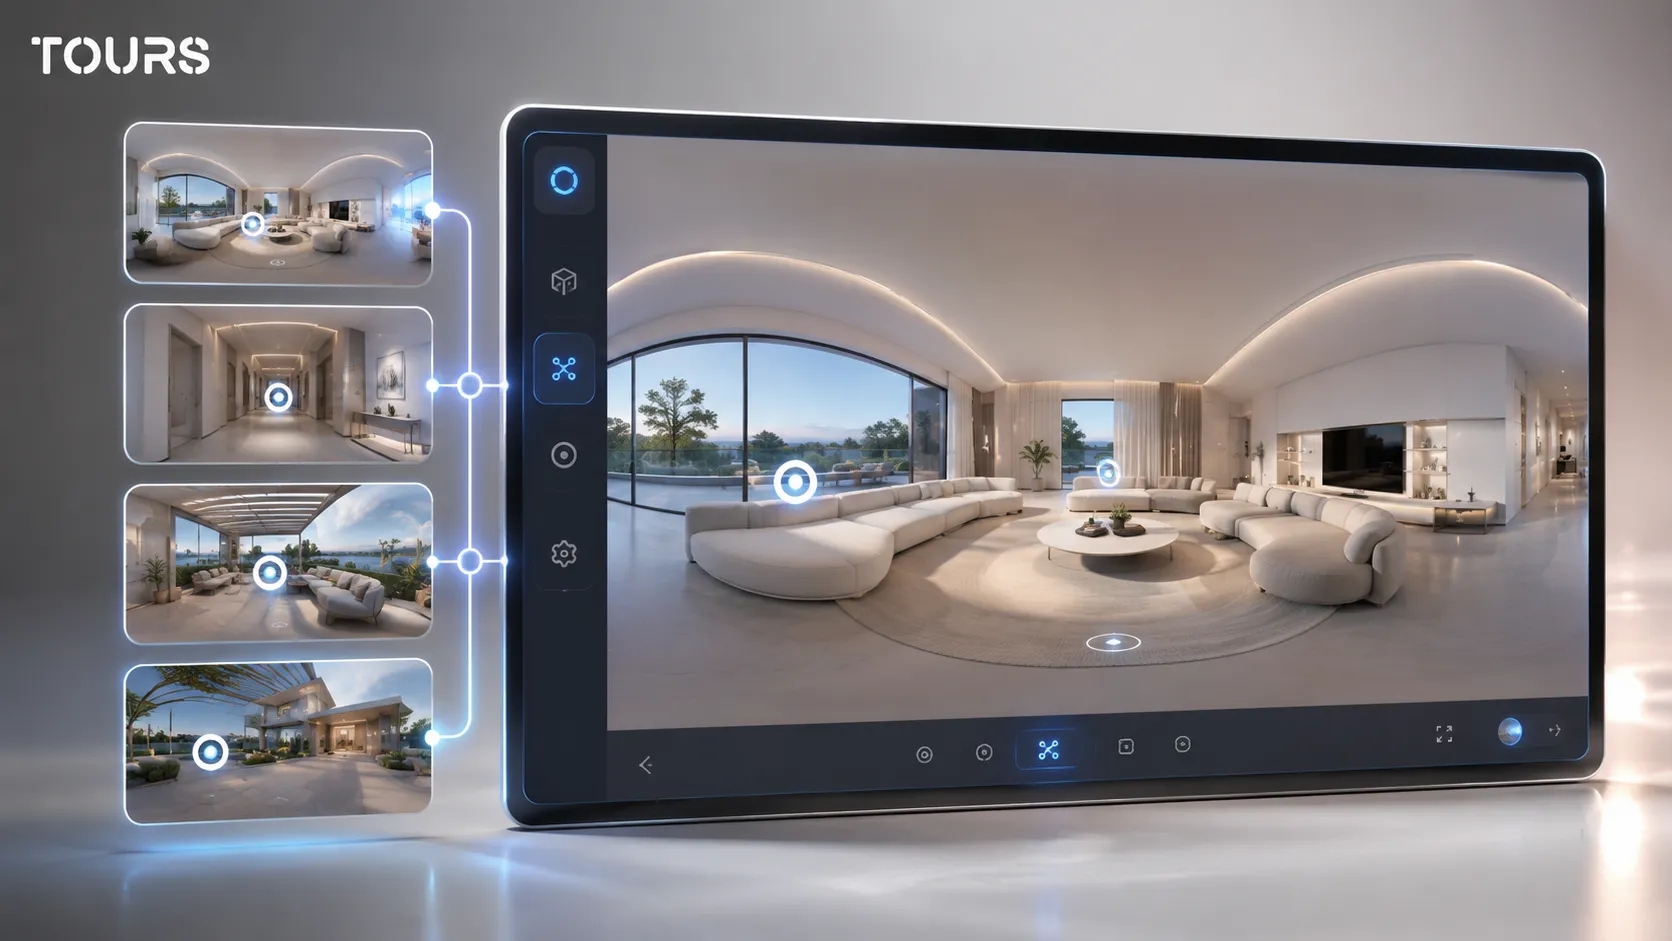
In Tours, you create the tour and the visual structure first, then add commercial features only where they make sense. The workflow is built for the browser: start from the 'My Tours' page, create the tour, upload the first scene and continue in the 360° editor.
- Create an account on getours.app and open the Tours app.
- Open the 'My Tours' page and click the button for a new tour.
- Complete the tour name and category, then optionally add location, price and tags.
- Upload the first 360° scene and give it a clear name.
- Continue in the 360° editor, where you can add scenes, navigation, information, images, videos, external links and groups.
- If some interactive points should later be connected to bookings, add internal tags that are easy to recognize.
- At the end, click 'Publish', choose visibility and wait for approval from a Tours moderator before the tour becomes public.
For a general explanation of what a 360 tour is and where it is used, read the foundational article about the 360° virtual tour. This guide stays focused on practical execution: how to prepare the material and avoid reshoots.
How do you add interactive points without cluttering the tour?
Add interactive points only where visitors need direction, context or an action. A good point explains a facility, leads to another scene, opens useful information, sends the visitor to a relevant page or starts a clear inquiry.
A simple rule is to avoid adding more points than someone can understand in a few seconds. In a hotel room, for example, navigation to the bathroom, information about amenities and a booking or inquiry action may be enough.
| Element | Role in the tour | When to use it |
|---|---|---|
| Navigation point | Moves the visitor between scenes | When spaces are physically or logically connected |
| Information point | Explains an object, area or facility | When the image alone does not say enough |
| Image or video point | Adds visual detail without leaving the tour | For menus, rooms, finishes, products or examples |
| External link point | Sends the visitor to a relevant page | For a menu, offer, catalog, contact page or longer details |
| Booking-connected point | Opens the booking or inquiry window | When the action should start from a precise place in the tour |
For a more detailed discussion of hotspots, information windows and the visitor path, the dedicated article about interactive points goes deeper into the UX side. In this guide, the important idea is to connect every point to a real need.
How do you connect bookings or inquiries when needed?
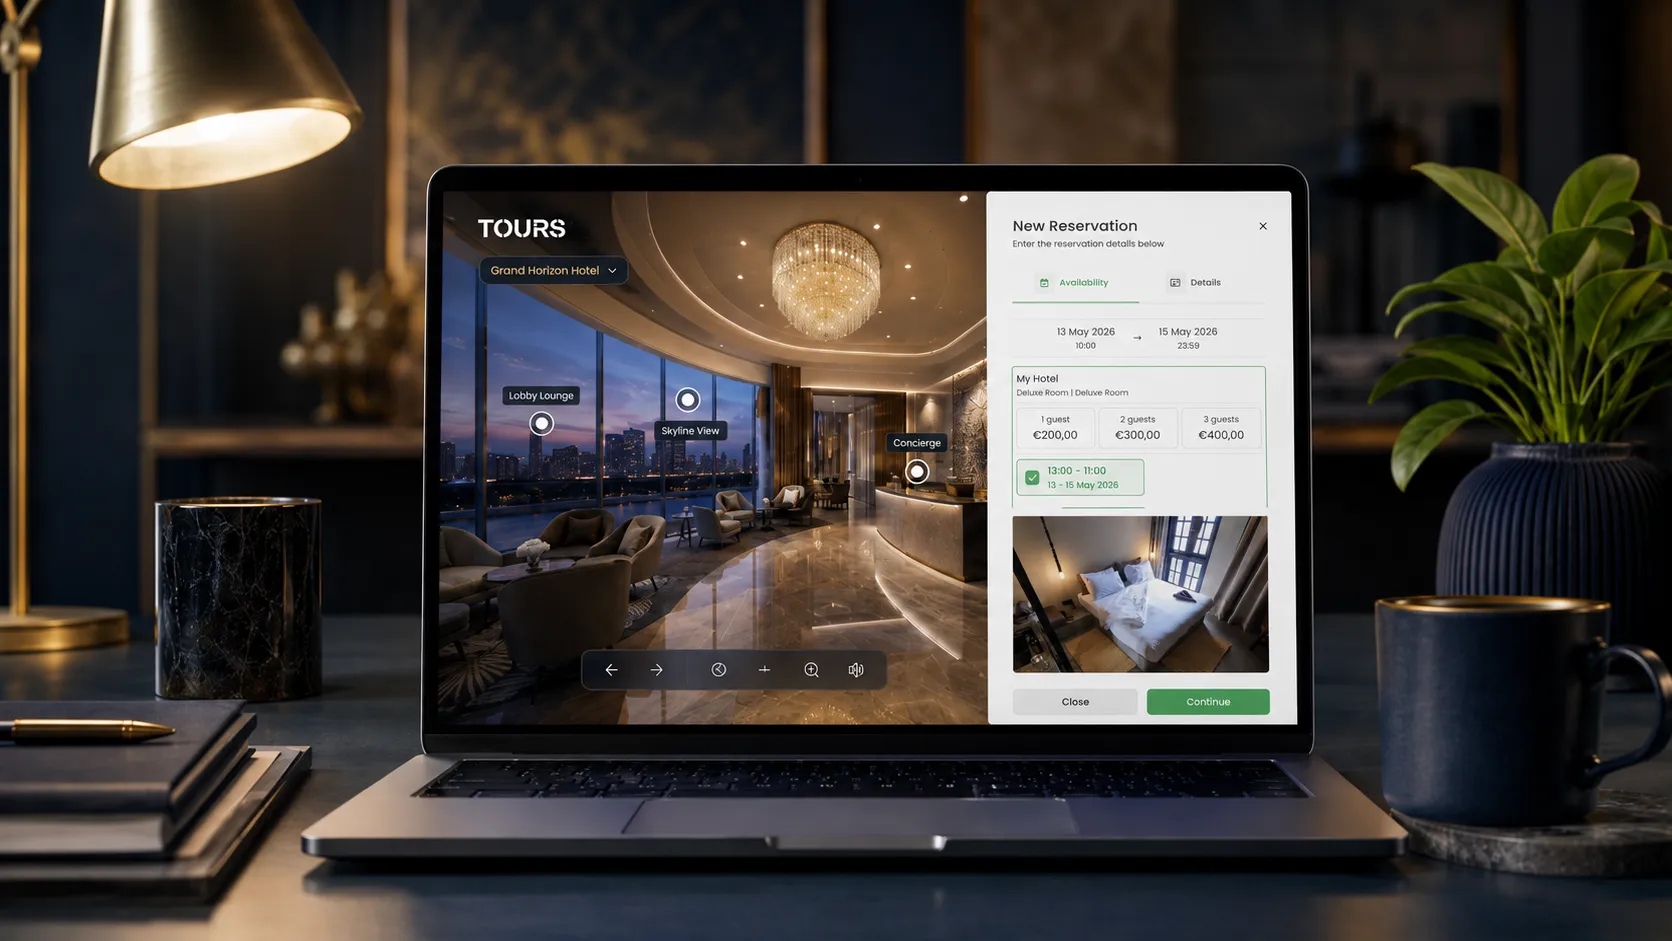
Connect bookings after the tour already has clear scenes, groups and interactive points. In Tours, Booking Manager can be connected to the entire tour, to specific scenes, to scene groups or to interactive points marked with internal tags.
When booking is connected at tour level, the experience can show a global booking button. When it is connected to an interactive point, the booking window opens when the visitor clicks that point. Points with the same tag can use the same calendar, while separate points can have their own availability.
- For hotels, rooms or room types can be represented as scene groups and connected to booking at group level.
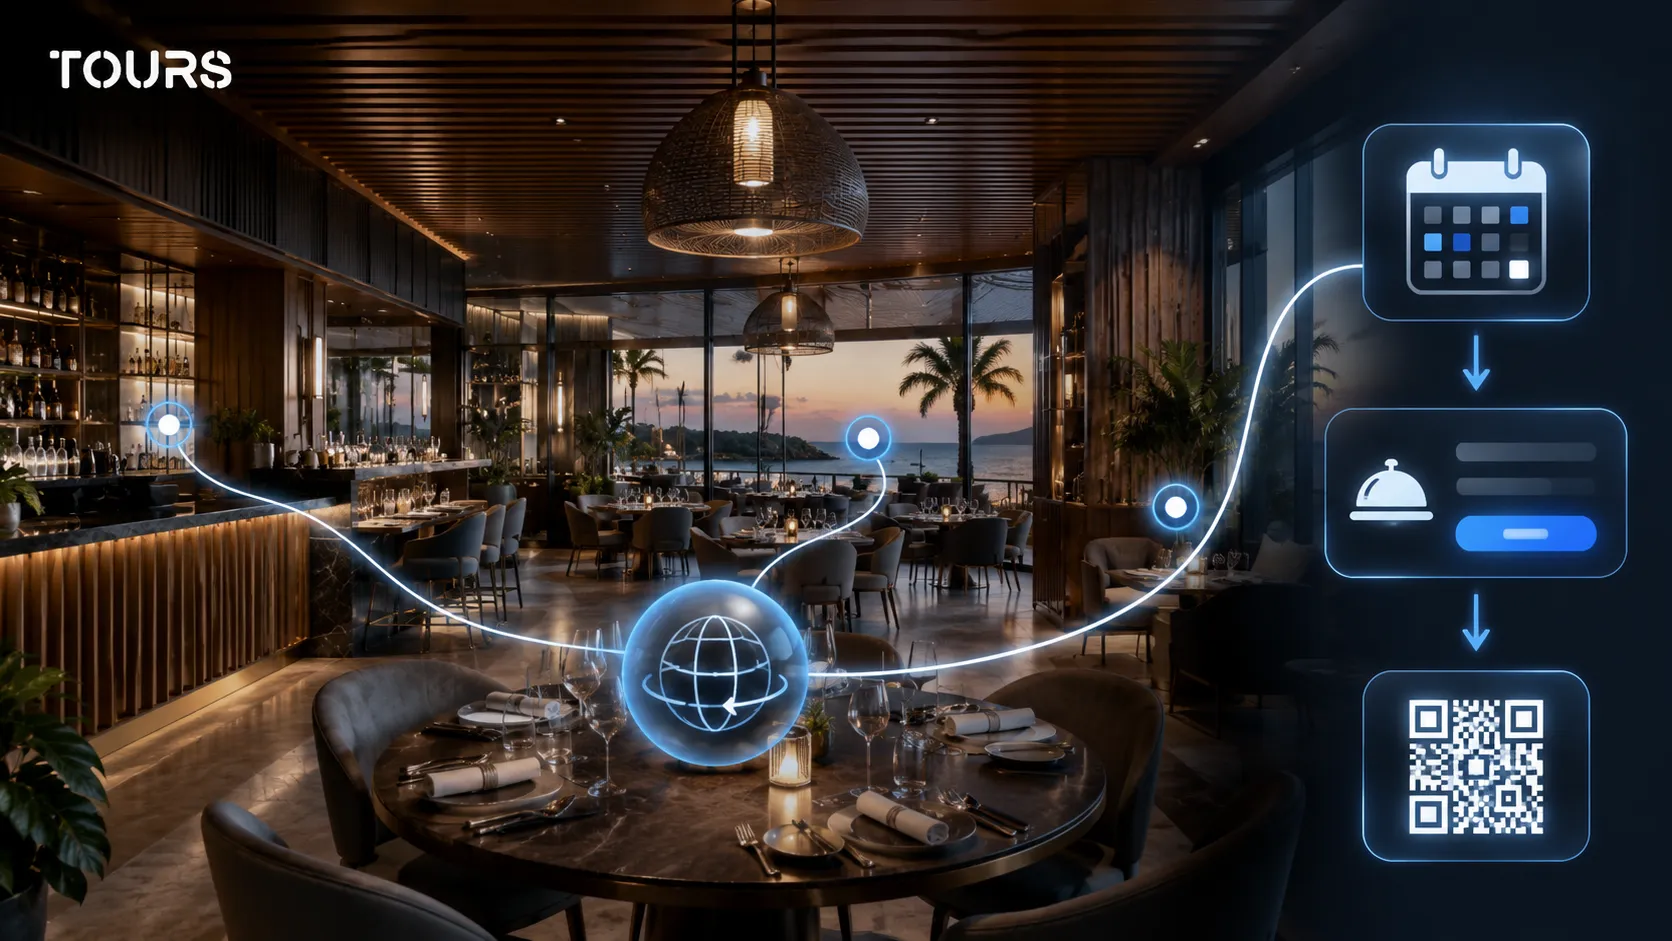
- For restaurants, tables or areas can be interactive points, with separate availability or shared availability through the same tag.
- For real estate, scenes, groups or interactive points can trigger viewing requests or quote requests.
- For showrooms, product areas can send visitors to inquiries, appointments or external pages.
- Bookings in Tours support existing processes, but they do not automatically replace a PMS, POS, channel manager or full CRM.
The separate flow is simple: open Booking Manager, create or configure the calendar, choose the right algorithm and optionally add team members who can accept or reject requests. Then connect it to the tour, scenes, groups or tagged interactive points.
How do you check the tour before publishing?
Check the tour like a customer who does not know the space. Open it on phone, desktop and tablet, go through every scene, click every interactive point and confirm that the final action is clear. Publishing should not be the first real test.
- Scenes load fast enough on a normal connection.
- Navigation does not loop or lead to the wrong spaces.
- Interactive points do not cover important elements in the image.
- Scene names are clear for someone who does not know the floor plan.
- The website integration code works on the page where the tour will be displayed.
- The QR code opens the correct tour.
- Usage statistics will be useful after launch if scenes and actions are named logically.
In Tours, after you click 'Publish' and choose visibility, the tour waits for moderator approval before it becomes public. Use this moment for one final internal check, especially if the tour will be sent in campaigns or displayed on your website.
What mistakes ruin a 360° virtual tour?
The most common mistakes are lack of planning, too many scenes, uneven light, interactive points added without purpose and publishing without testing. A weak tour is not necessarily one shot with inexpensive equipment. It is one that does not help the visitor make a decision.
- You photograph the whole space but do not decide the route.
- You place too many interactive points in a single scene.
- You use internal names that only your team understands.
- You hide important information in places that are hard to notice.
- You do not test the tour on phone, even though many visitors will open it there.
- You add the tour to your website without checking size, speed and page placement.
- You do not review usage data after publishing, so you never learn where visitors stop.
If you want to compare platforms before building the tour, also read the guide about virtual tour software. If the tour is ready and you want to display it on your website, the guide about virtual tour website integration covers the technical side without repeating the capture process.
Can you create a 360° virtual tour for free?
You can test the process without paying. Common options are a free plan in a 360° platform, publishing 360° photos to Google Maps, or a free trial of a commercial tool. Each one answers a different question: whether your photos are good enough, whether people find you on the map, or whether the tour can bring real bookings and inquiries.
Free options usually stop at publishing. Custom domains for embedding, booking actions, statistics and removing third-party branding tend to sit in paid plans. In Tours, you can try the Pro plan free for 30 days without a card, which includes bookings, so the test shows the full flow and not only the viewer.
- Testing photo quality: a free plan or a single scene is enough.
- Local visibility: 360° photos in Google Maps help, but you cannot add bookings.
- Commercial evaluation: use a trial that includes embedding, statistics and bookings.
Frequently Asked Questions
How do you create a 360° virtual tour with no experience?
Start with a small space, such as an apartment, a hotel room or a showroom area. Make a scene list, photograph each point with a 360° camera, then upload the images to a platform that supports navigation between scenes. Do not add many features in the first test. The goal is to learn the route, not to build the perfect tour on the first try.
Can I create a 360° virtual tour with a phone?
You can test the idea with a phone, but a dedicated 360° camera is safer for a commercial tour. A phone can require more assembly work and may produce results that are harder to make consistent. If the tour will be published on a website or used in sales, capture quality and consistency between scenes matter a lot.
How many scenes should a 360° virtual tour have?
A tour should have enough scenes for visitors to understand the space, but not so many that they get lost. A few main scenes may be enough for a small apartment. For hotels, restaurants or showrooms, the number depends on the rooms, areas and decision the tour needs to support.
What is the difference between 360° photography and a 360° virtual tour?
A 360° photo is an isolated panorama. A 360° virtual tour connects multiple panoramas into a navigable experience with interactive points, information, links, website integration, QR sharing and, in some cases, bookings or inquiries. The real difference is structure: the visitor can move through the space, not just view a single image.
Do I need a professional photographer to create a virtual tour?
Not always. If you have a 360° camera and a prepared space, you can create a proper tour yourself. A professional photographer is worth it when the space is premium, the lighting is difficult or the image needs to support high-value sales. The platform and the photography are different parts of the process: one builds the experience, the other produces the visual material.
How do I connect a 360° virtual tour to bookings?
In Tours, you first create the tour, scenes, groups and interactive points. Then you configure Booking Manager, set the calendar and choose the booking algorithm. Finally, you connect it to the whole tour, to scenes, to scene groups or to tagged interactive points. This way, booking appears in the right place within the experience.
Does the tour become public immediately after publishing in Tours?
Not immediately. In Tours, after you click 'Publish' and choose visibility, the tour waits for moderator approval before it becomes publicly visible. This step helps maintain quality and prevents incomplete, test or unsuitable tours from being published accidentally.
Where should I publish a 360° virtual tour after it is ready?
The most useful places are your own website, presentation pages, marketing campaigns, customer messages and QR materials. For commercial spaces, the website is usually the central location because you can control the context, buttons, explanations and final action.
What should I check before sending the tour to customers?
Check every scene, every interactive point, mobile loading, names, the QR code, website integration and the final action. If you have bookings or inquiries, test the calendar and messages. A good 360 tour should not only look good. It should work clearly for someone seeing it for the first time.
Can I use the same virtual tour structure for hotels, restaurants and real estate?
The basic structure is the same, but the goal is different. A hotel needs rooms, facilities and trust before booking. A restaurant needs atmosphere, dining room, terrace and tables. In real estate, layout and the viewing request matter most. That is why the interactive points and route should be adapted to each case.
If you want to build a 360 tour without installing complicated software, you can test Tours directly in the browser: create the tour, upload the scenes, add interactive points, publish after checking and use it on your website, through QR codes or in messages to customers.
Sources
Studies and reports cited in this article
All sources are checked and publicly available.
- 2025 profile of home buyers and sellersreportNational Association of REALTORS®Report on the home search process, the role of the internet and the usefulness of photos, floor plans and virtual tours for buyers.
- Equipment needed to create a virtual tourguideRICOH360Guide explaining the difference between phones, digital cameras and dedicated 360° cameras for captures used in virtual tours.
- 2026 guide to choosing 360° camerasequipment guideDigital Camera WorldUpdated selection of 360° cameras with details about resolution, still photos, video and use in virtual tours.
We carefully select trusted sources to keep the content relevant and up to date.